Last updated on April 22nd, 2025 at 12:12 pm

NOTE: This post is part of a comprehensive Appalachian Trail thru-hike gear guide.
If you have arrived here but would like to see all the other categories, start here.
If you’re thru-hiking the Appalachian Trail, you’ll need a backpack to carry everything on this list and make your journey possible.
Appalachian Trail Backpack
There is no “best backpack for the Appalachian Trail.”
It’s just the truth. A lot of personal preference is involved when choosing the best thru hiking backpack for you.
As I will mention below, in shoes, I recommend buying a few packs (with good return policies) and figuring out which works best for you.
Take each one out on some test hikes, adjusted for you, with weight in them.
When shopping for a pack, consider the carrying capacity you will require, the frame structure that would be best for you and your carrying capacity, and the fit.
Carrying Capacity
The carrying capacity of a backpack is how much the bag can hold. Packs tend to range from 30L capacity to 70L and beyond.
But what size backpack do you need for the Appalachian Trail? When considering your options, know that thru-hikers most frequently use packs with a 50L to 65L carrying capacity.
A good place to start is to evaluate what type of thru-hiker you are and how much you plan to bring along on your journey. Are you a minimalist? Or will you be interested in having some extra luxuries?
Either type is fine as long as your body can handle the weight. (A good rule of thumb is to try not to have more than 20% of your body weight on your back.)
It is also often recommended to have all your items first, then pick a pack to carry them all. I went the opposite way and gave myself a weight cut-off (30lb) that I was willing to carry, then shopped for a pack that could carry that weight. Any gear that pushed me over that weight was cut.
Either way works; do what feels best for you.
Frame: External, Internal, and Frameless
There are three main styles of pack frames, which is the system that gives your pack its structure:
External frame packs have an exposed frame outside of the pack and used to be the most common due to their ability to carry heavy loads well.
However, these days, you only see them occasionally on trail. Internal frame and frameless packs have become so good they have nearly eliminated the need for external frame packs.
Internal frame packs have a frame integrated inside the pack and will give you the most structure.
These packs weigh more than the frameless packs, but the trade-off is they are doing the best job at taking all the weight and placing it onto your body in the right places.
(75-80% of the weight should be at your hips.)
Frameless packs have no frame and are great for ultralighters and minimalists who aren’t carrying much more than 20-25 lbs.
They aren’t designed to carry heavy loads.
A note on ultralight backpacks: Be aware that if you commit to a frameless pack, you’re also committing to a pack full of almost all ultralight gear to keep your pack effective at that 25 lbs or less weight.
You also have to be much more aware of how you place all your gear in these packs.
You are responsible for adequately placing the weight throughout the pack and ensuring the bulk of the weight rests on your hips.
Fit
It’s common for newbie hikers to think sizing a backpack is similar to sizing a shirt, but it is not. Sizing a backpack involves knowing your torso length, which is the length from your C7 vertebra to your iliac crest.
This measurement is one we rarely know about ourselves. To find it, you’ll first need the help of a friend. Then, tuck your chin and have them measure from the bone that protrudes at the top of your spine down to the spot on your back that lines up with the top of your hip bones.
Tada! You have your torso length.
I recommend going to an REI or a similar outfitter and having them double-check the measurement you found and fit you for the proper size backpack.
REI specifically has a torso-length fitter they can place on you to help you find the right size effortlessly. They can also add weighted sandbags to the packs and visually assess how packs sit on you with added weight before purchasing. Lastly, they have a generous return policy if you find out a few days later that the pack isn’t for you.
If you can’t get to an REI, here is their guide to sizing and fitting a backpack.
My Pick:
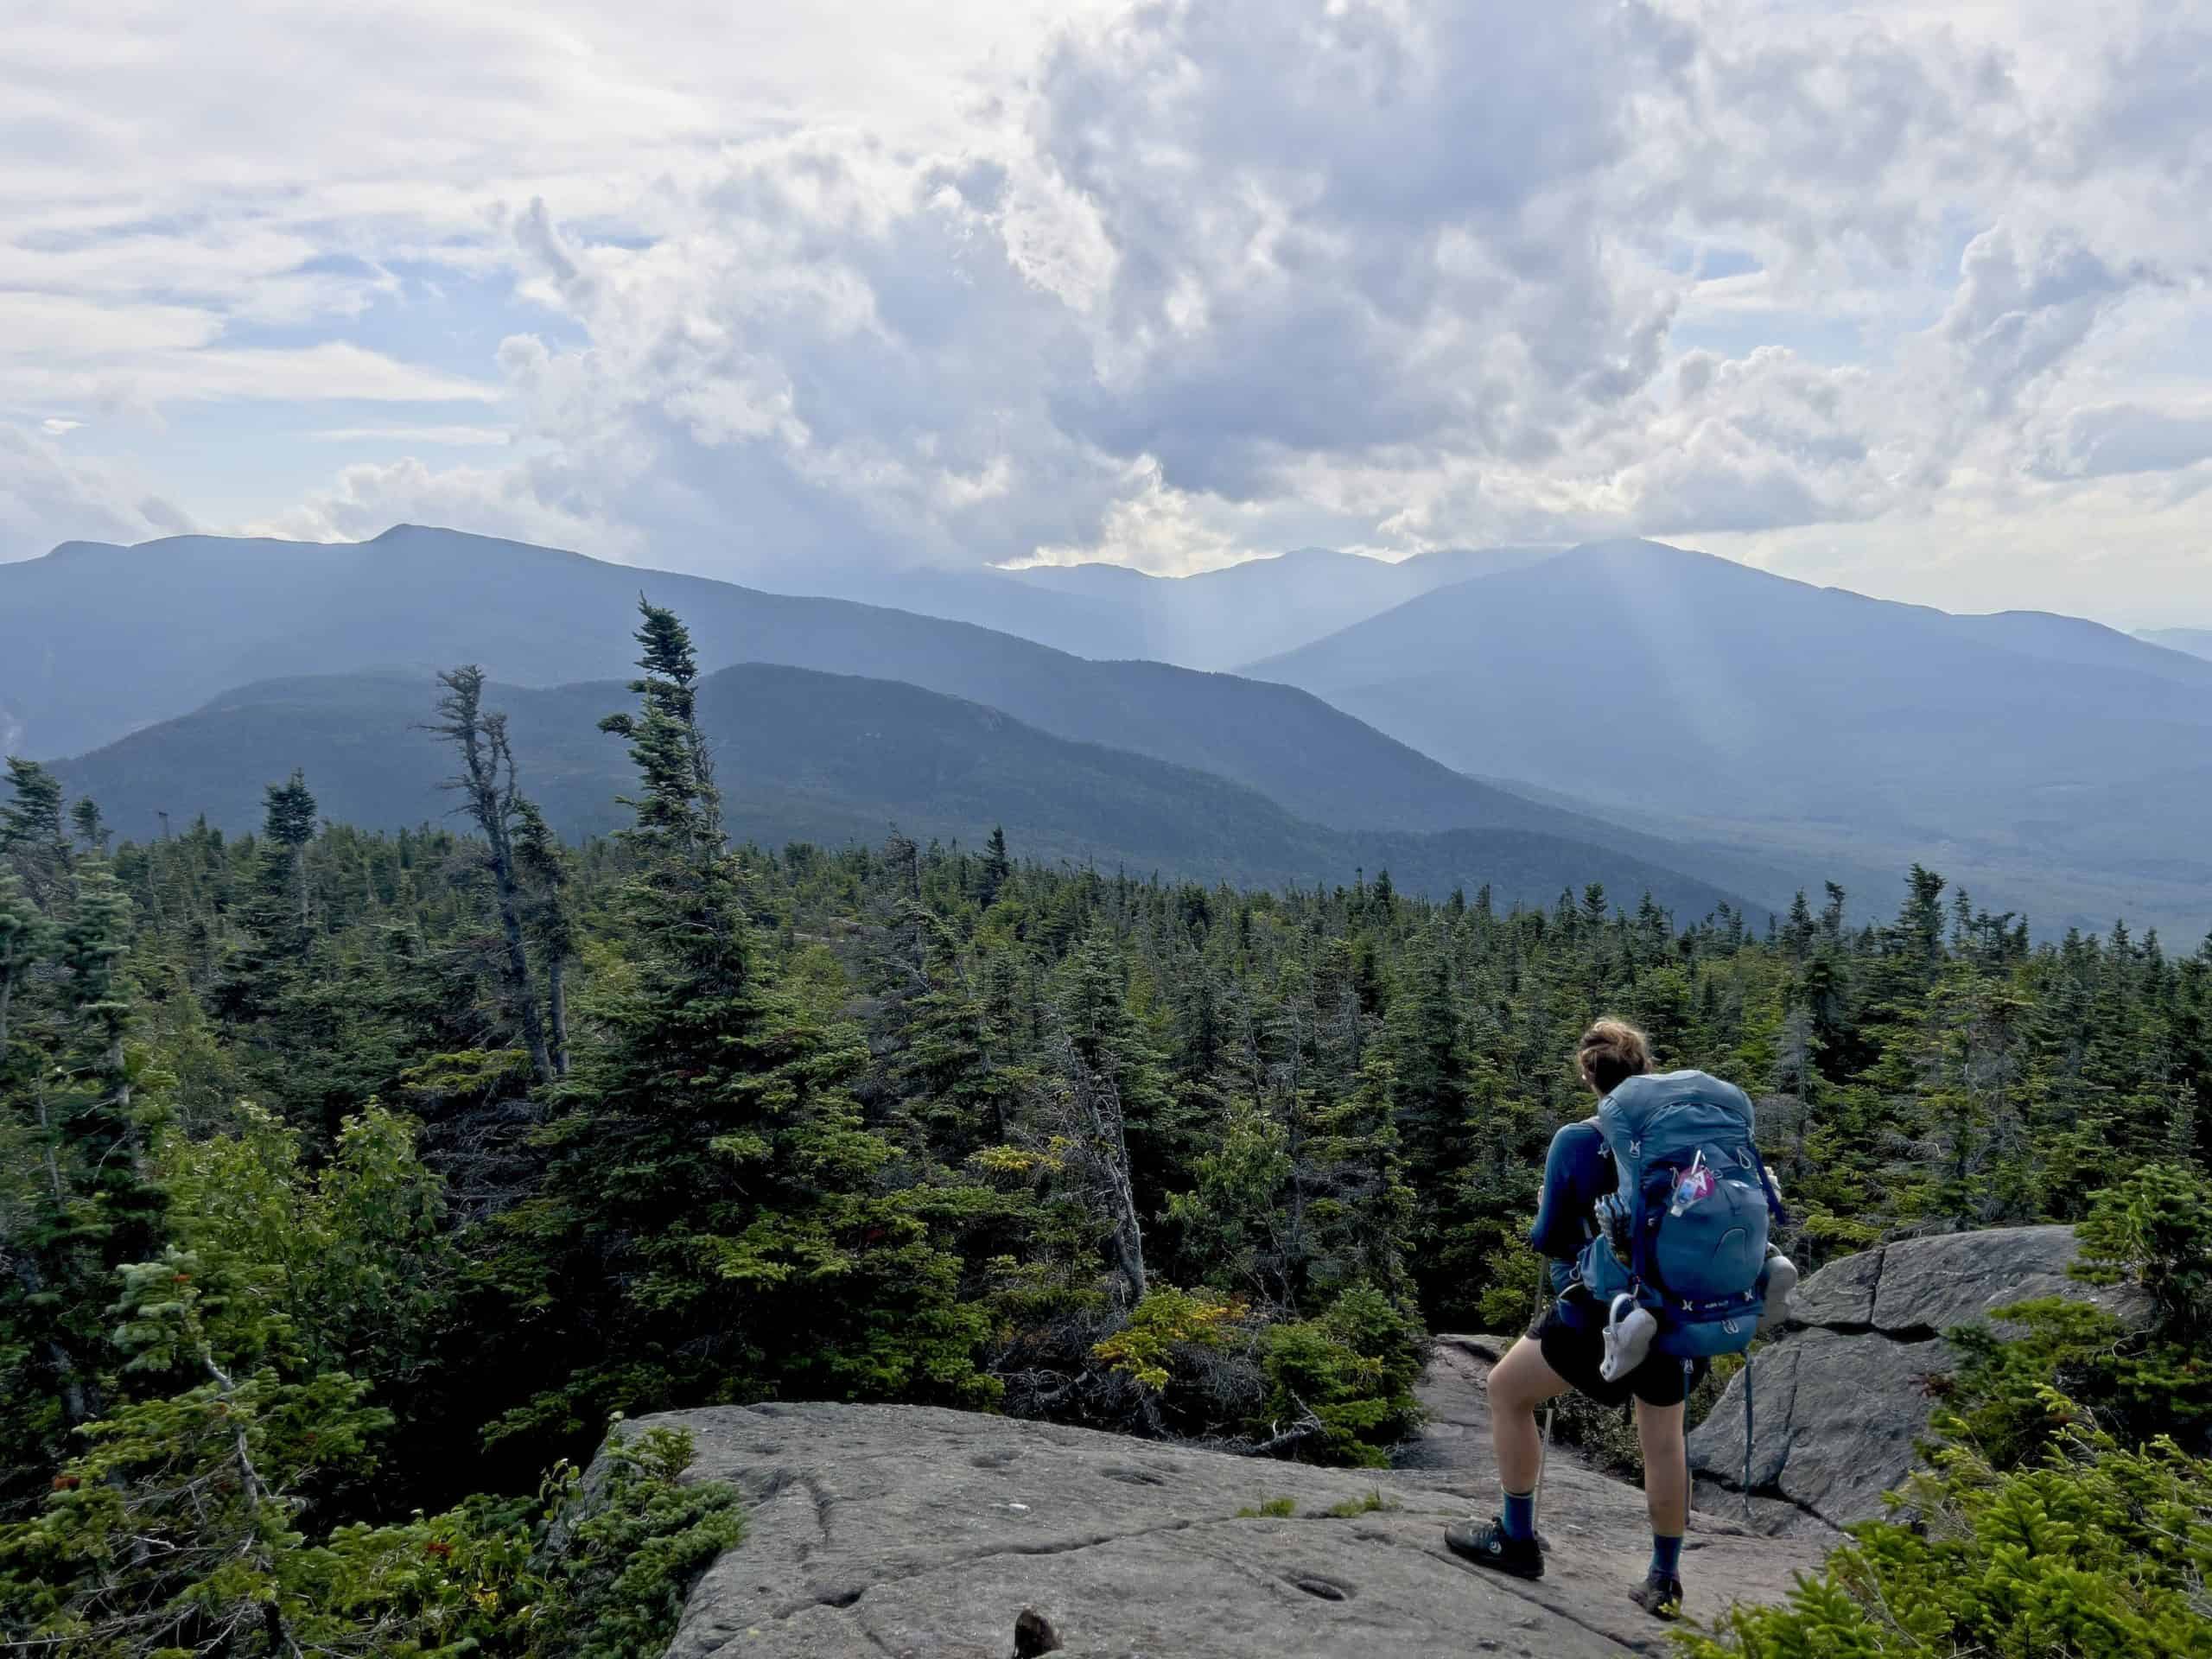
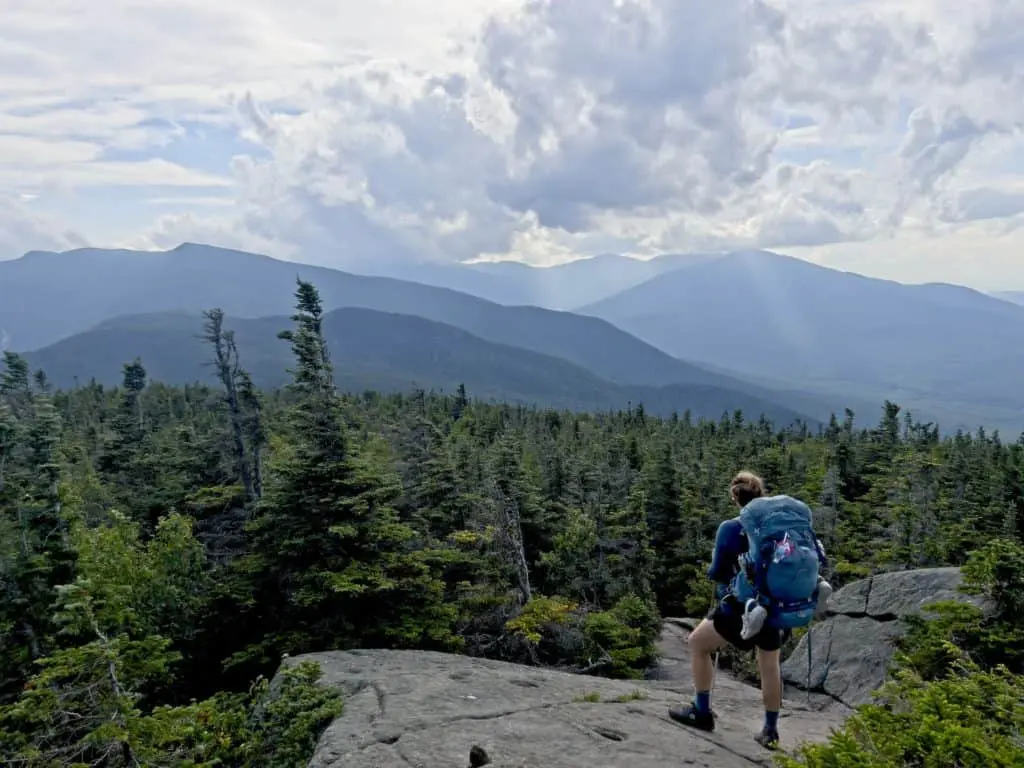
After trying many lighter-weight frameless packs, I went with an internal frame pack, the Osprey Aura AG 65 Women’s Backpack (without the brain). (The men’s equivalent is the Osprey Atmos AG 65 Pack.)
(68 oz with brain, 61.5 oz without)
Osprey Aura AG 65L Women’s Backpacking Backpack: Amazon | REI | Backcountry
- Curved zip access on one side of panel
Osprey Atmos AG 65L Men’s Backpacking Backpack: Amazon | REI | Backcountry
- Included raincover made with PFAS-free DWR and bluesign approved materials
I have a 14.75″ torso, which left me with limited options. This Osprey pack is popular with short torsoed women like myself. Almost every woman I saw using it on the trail was also about my size or smaller.
However, I mainly went with an internal frame pack because, after trying both frameless and internal frame options, I found that frameless packs never fully assisted me in hiking properly. I needed that internal structure.
I even briefly tried a frameless pack once more on the trail because I was envious when my husband switched from an internal frame pack to a frameless pack. Logically, I knew that going from 61.5 oz to 18 oz would be a big deal; after all, I could lose almost three pounds!
However, for me, the weight savings ended up not being worth it. Since frameless packs lack internal structure and generally do not come in torso sizes below 15 inches, I’ve yet to find a frameless pack that helps me maintain proper hiking form and land on my feet properly.
During that pack switch, my feet were in the most excruciating pain I’ve ever felt. My nights and days were filled with tears. Thank goodness I landed in a town with Uber and a killer podiatrist! The doctor there advised a shoe change and for me to swap back to my Osprey pack.
And you know what? It was insanely magical how quickly everything started feeling better again!
She saved my hike, and I quickly noticed how much better my body felt with the structure of an internal frame backpack.
So, three pounds of savings was not worth ending my hike over. I decided to seek out weight savings elsewhere. And also, to suck it up, channel all the extraordinary women who did this hike before me with older/heavier gear and made it to the finish line with my Osprey. 💪💪💪
Husband’s Pick:
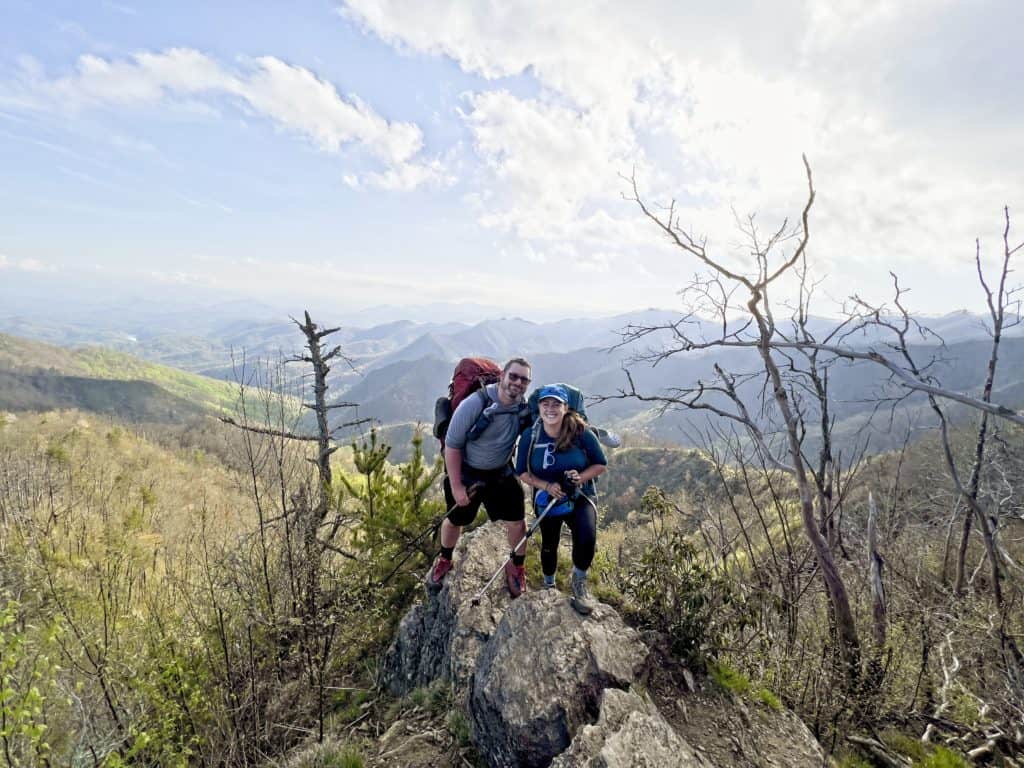
He hiked from Springer to Damascus with the Gregory Baltoro 65 Pack.
(The women’s equivalent is the Gregory Deva 60 Pack.)
(77.4 oz)
Gregory Mountain Products Men’s Baltoro 65: Amazon | REI | Backcountry
- Custom Fit Suspension - Response A3 suspension with independently rotating hipbelt and harnesses. Custom fitting available at your local retailer.
Gregory Mountain Products Women’s Deva 60: Amazon | REI | Backcountry
- Product Type: Backpack
He hiked the rest of the trail with the Hyperlite Windrider 55L Backpack: Hyperlite | Backcountry
(32 oz)
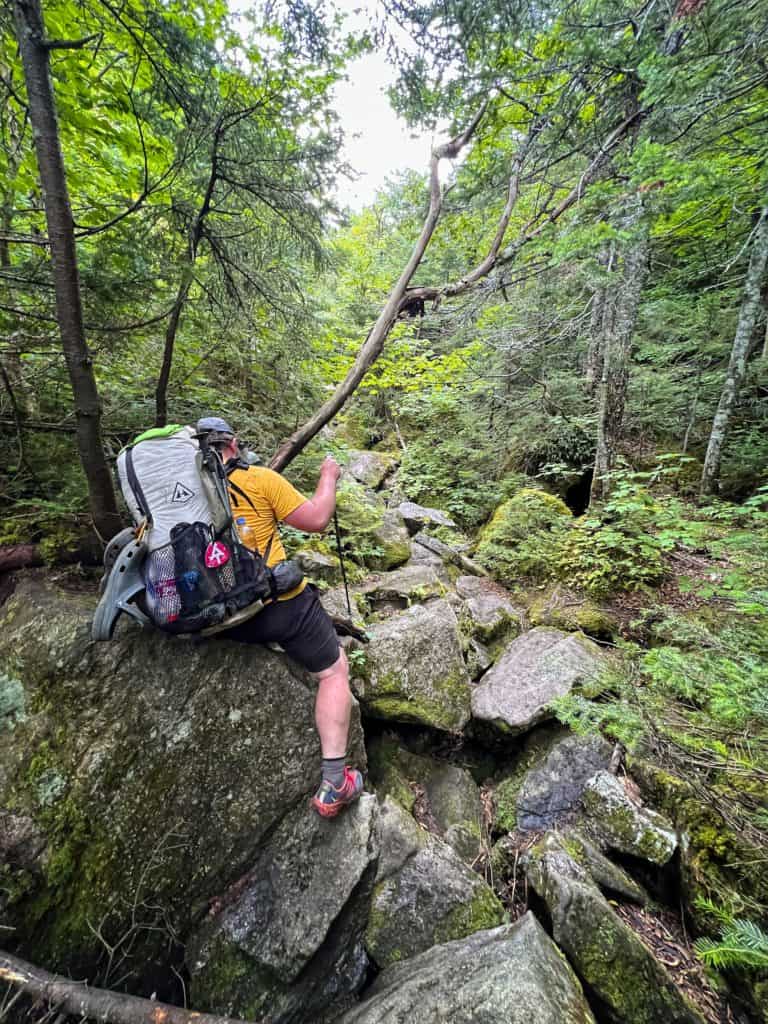
On the other hand, Barrett was able to make switching to a frameless pack work for him.
He came across the Hyperlite Windrider frameless pack in Damascus that boasted a carrying capacity of up to 40 lbs! (He was carrying ~35 lbs most days.)
Desperate to take a few pounds off his knees, he decided to try it after seeing many other thru-hikers on trail using Hyperlite packs.
(Side note: In case you’re wondering why I did not try a Hyperlite as well, Hyperlite, along with many other companies, has yet to make a pack for my size torso. I would love to test one out if they ever do! I tried many frameless and internal framed packs sized for a 15-inch torso and up, but it really is necessary to have a backpack adequately sized for your torso so you can carry most of your pack weight on your hips.)
UPDATE: In 2023 Hyperlite announced an XS pack that I’m excited to test out in the future.
He was hesitant about going from a 65L to a 55L, wondering if he could fit everything he needed in the Hyperlite.
He initially found the Hyperlite pack less comfortable than the Gregory pack.
It was hard for him to get used to one big chamber. He had to learn how to pack the Hyperlite in a way that put most of the weight on his hips. (Stuff sacks helped.)
But ultimately, the switch helped him purge things he didn’t need and made the rest of the journey lighter, easier, and more organized.
Once he got used to the pack, he felt it was amazing!
Lastly, a perk of this backpack is it’s waterproof, meaning Barrett didn’t have to worry about a pack cover.
He also hiked with the Chicken Tramper water bottle sleeve and shoulder strap zipper pocket on his pack’s straps to help keep a few basics separate and easily accessible.
Other Notable Women’s Internal Frame Backpacks:
Osprey Eja 58L Women’s Ultralight Backpacking Backpack: Amazon | REI
Osprey Ariel 65L Women’s Backpacking Backpack: Amazon | REI
Gregory Mountain Products Facet 55: Amazon | REI
Gregory Mountain Products Women’s Maven 55 Backpacking Backpack: Amazon | REI
Granite Gear Blaze 60L Backpack: Amazon | REI
REI Co-op Flash 55 Pack: REI
REI Co-op Traverse 60 Pack: REI
Other Notable Men’s Internal Frame Backpacks:
Osprey Exos 58L Men’s Ultralight Backpacking Backpack: Amazon | REI
Osprey Aether 65 Men’s Backpacking Backpack: Amazon | REI
Gregory Mountain Products Focal 58 Backpacking Backpack: Amazon | REI
Gregory Mountain Products Paragon 58: Amazon | REI
Granite Gear Blaze 60L Backpack: Amazon | REI
REI Co-op Flash 55 Pack: REI
REI Co-op Traverse 60 Pack: REI
Other Notable Unisex Internal Frame Backpacks:
- THIS PRODUCT IS FOR: The Deuter Futura Air Trek 60 + 10 is for backpackers looking for a comfortable pack with good load transfer and maximum ventilation for longer trips.
Other Notable Unisex Frameless (Ultralight) Backpacks:
ULA Circuit
Gossamer Gear Mariposa 60 Backpack
Other Notable Women’s Frameless (Ultralight) Backpacks:
Zpacks Women’s Arc Haul Ultra 60L Backpack (Replacing the Arc Scout 50L)
Pack Liner
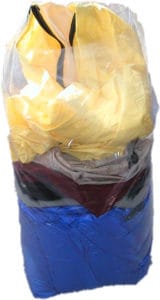
Pack liners are essential for protecting your hiking gear from the outdoor elements by providing an extra layer of wetness defense.
Some thru-hikers use compactor bags for this purpose.
We used Gossamer Gear’s pack liners; I cannot recommend them enough.
We made it through the entire hike, each using one pack, with one of the liners around our sleeping bags and the other around everything else.
If they ever got a tear, I taped them up with Gear Aid’s gear repair tape, which is mentioned on page seven.
Choose whichever you like better or can get your hands on for an affordable price.
Pack Rain Cover
Some packs, such as the Hyperlite packs made from Dyneema, are waterproof and do not require a rain cover.
For all other packs, a cover is needed to shield your pack and the gear inside it from water when you hit rainy conditions.
Some brands sell them along with their pack. Some do not.
I started with an extra Gregory pack rain cover (5 oz) Barrett had that was a bit heavy and bulky but also durable.
I later switched to a lighter-weight option, which also worked.
This Sea to Summit Ultra-Sil Pack Cover was less durable than the one made by Gregory and got rather ripped up throughout Maine and New Hampshire.
But I found that, as long as it’s waterproof, it gets the job done, even with a few tears.
(Gear Aid’s repair tape, once again, helped here. I used it to patch any holes.)
Sea to Summit Ultra-Sil Pack Cover M: Amazon | Sea to Summit
(4 oz)
- Ultralight pack cover for keeping a backpack dry when hiking, backpacking, or traveling
👉 Click Here to Get My Free Appalachian Trail Gear Packing List for Thru-Hikers
Continue Reading:
– SHELTER
– SLEEP SYSTEM
– BACKPACK
– CLOTHING
– FOOTWEAR
– FOOD, COOKING GEAR, & WATER TREATMENT SYSTEM
– SAFETY & REPAIR ITEMS
– ELECTRONICS, NAVIGATION & GPS, HYGIENE ITEMS, & BUG MANAGEMENT
– PERSONAL LUXURY ITEMS & FAQS

